FlyDocs only delivers a live tracker once it’s connected to one. Today that means Linear or Jira, with Trello, Notion, ClickUp, and Asana on the roadmap.
The two providers share the same workspace mapping. They diverge on auth: Linear uses a personal API key, Jira uses OAuth. Both flow through the relay API, so provider credentials live encrypted on the server and never on developers’ machines.
Connecting Linear
1. Generate a Linear API key
Open Linear and go to Settings → Account → Security & access → Personal API keys. Click Create key, name it something like flydocs-relay, and copy the value immediately. Linear only shows it once.
For org-wide configurations, use a shared service-account-style Linear seat rather than a personal one.
2. Add the connection in the FlyDocs portal
In app.flydocs.ai, go to Settings → Connections → Add Linear. Paste the key. The portal validates it and pulls the teams your account has access to.
3. Bind a workspace to a Linear team
Each FlyDocs workspace maps to one Linear team. In the workspace setup flow:
- Pick the Linear team this workspace will write to.
- Map FlyDocs canonical statuses (
READY,IMPLEMENTING,REVIEW,BLOCKED,COMPLETE) to your team’s actual workflow states. The portal pulls the live state list from Linear so the dropdown is always accurate. - Map FlyDocs issue type labels (
feature,bug,chore,idea) to your existing Linear labels, or let the portal create them.
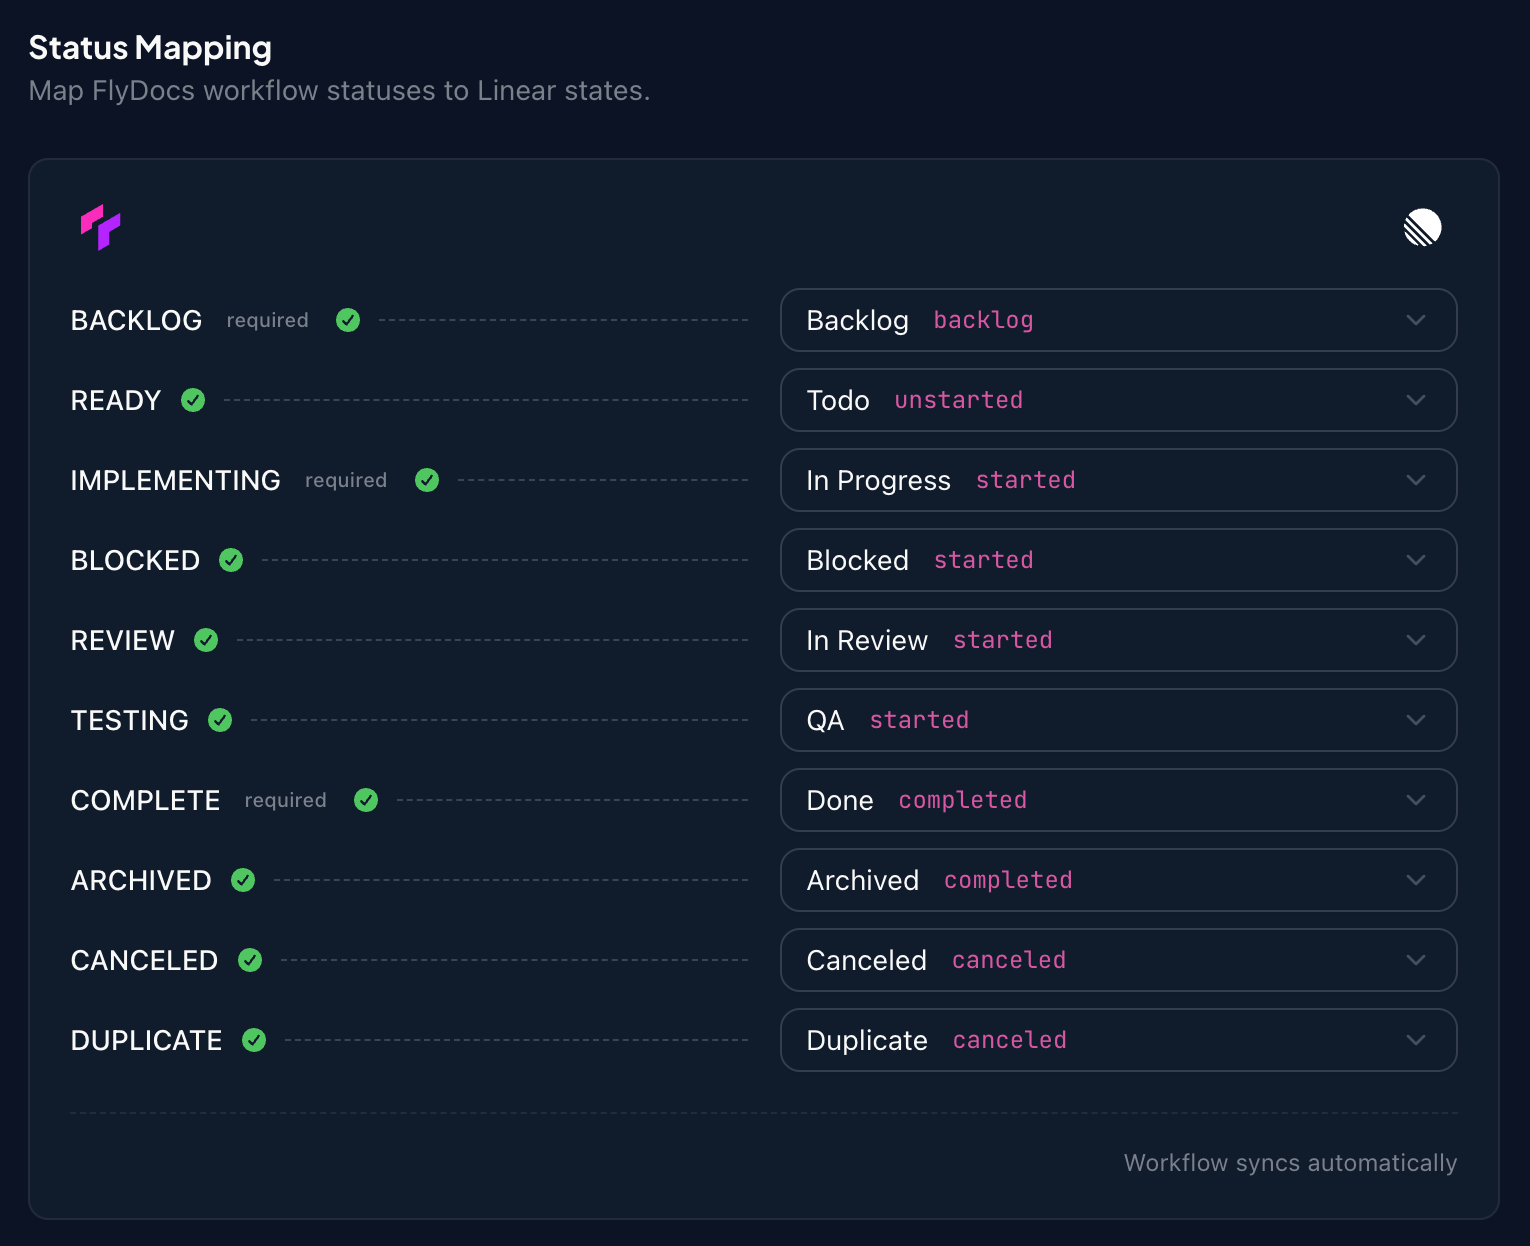
That’s it. Run flydocs init in any repo bound to this workspace and the CLI resolves the configuration from the relay on the first session.
Connecting Jira
1. Authorize FlyDocs in Atlassian
In app.flydocs.ai, go to Settings → Connections → Add Jira. You’ll be redirected to Atlassian’s OAuth consent screen. Approve the requested scopes (read/write on issues, transitions, comments, and labels for the sites you select), and Atlassian sends you back. The portal handles token refresh automatically.
2. Pick the Atlassian site and project
If your Atlassian account has multiple sites, pick the one this workspace will live under, then pick the Jira project. Each FlyDocs workspace maps to one Jira project, the same way it maps to one Linear team.
3. Map your status workflow
Jira’s status workflows are unique to each project, so this step matters more than it does for Linear. The portal pulls the actual workflow transitions from Jira and maps your canonical statuses to whatever you’ve configured. The mapping screen looks identical to Linear’s, shown above.
A common gotcha: Jira workflows often have transition guards that require fields to be set before a status change is allowed. If your In Progress transition requires an assignee, FlyDocs fails cleanly and tells you what’s missing instead of silently skipping the transition. The fix is either to assign before transitioning, or to relax the guard in your Jira project workflow.
4. Map labels and issue types
Same shape as Linear. FlyDocs has four canonical issue type labels (feature, bug, chore, idea); the portal maps them to your Jira labels and creates them if they don’t exist.
What you get either way
Once the connection is live and a developer has run flydocs init against the workspace:
/capturecreates an issue with a structured spec, AC list, and the right type label./activateassigns the issue and transitions it to In Progress with a comment./implement,/review,/validate,/closeeach transition the issue through the lifecycle with a comment template. No silent moves.- Acceptance criteria in the issue description tick as work completes.
- Session summaries post as comments at wrap-session.
- Issue audits flag tickets that are out of sync, missing required fields, or stuck without recent activity.
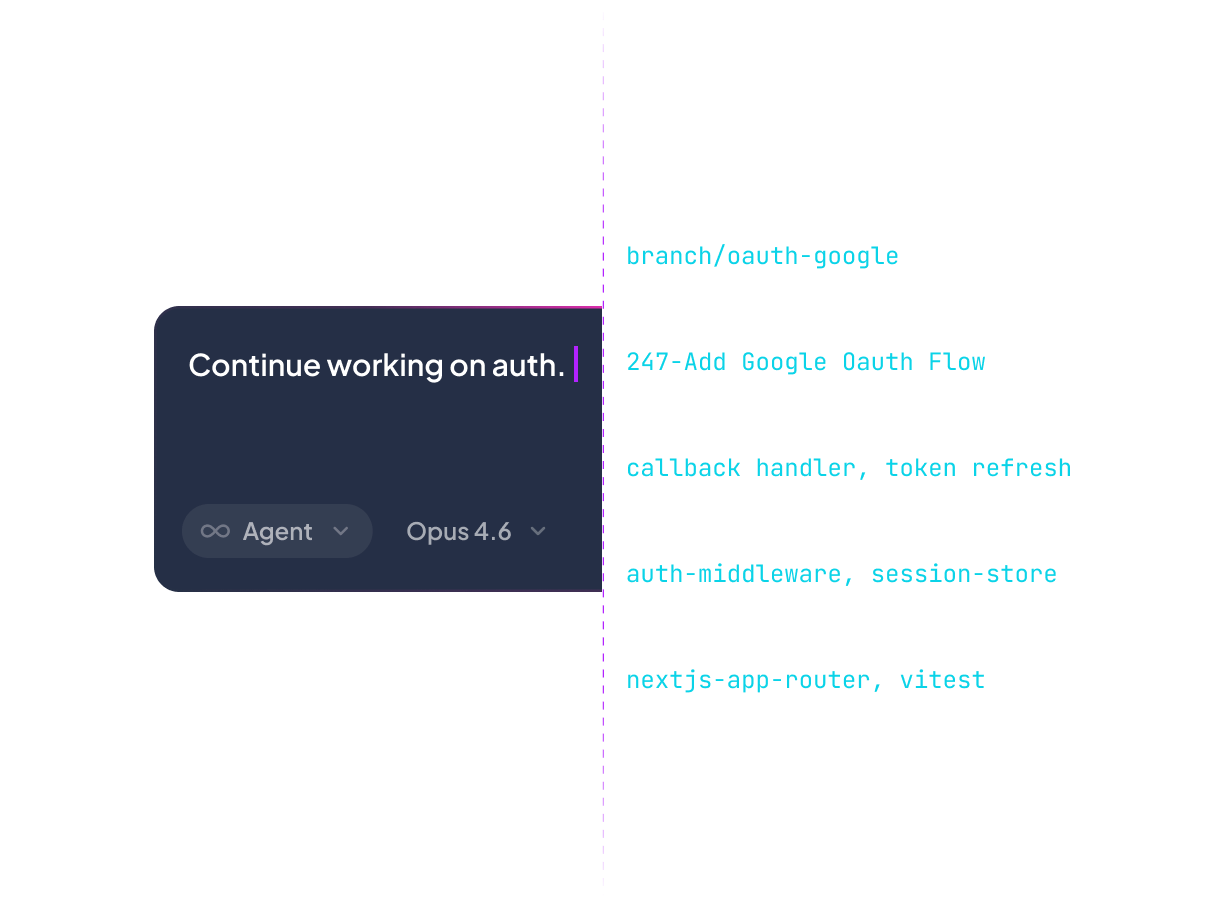
All of this happens from the developer’s IDE; they never leave the editor to update Linear or Jira. The tracker stays current because the developer’s actual workflow writes to it.
What FlyDocs writes and reads
FlyDocs writes:
- New issues, status transitions, and comments
- Label and assignee changes
- Acceptance criteria checkbox state (in the issue description)
FlyDocs reads:
- Active issues for your team or project
- Status workflow definitions and label catalog
- Sprint or cycle membership (for filtering)
- Project members (for assignee resolution)
The relay never touches anything outside the team or project a workspace is bound to. Bind to one Linear team and FlyDocs ignores the rest of your org.
What to do next
If you’ve connected Linear or Jira, the Your First Workflow walkthrough takes you from flydocs init to a complete capture-to-close cycle. If you’re still evaluating, the Sign Up & Connect guide covers signup-to-connected-project in about five minutes.
Either way, the next time someone on your team opens a ticket in Linear or Jira, it should reflect work that’s actually moving.